
ROAD TRIP
 For this final project of the 2014 MMDT we were to create a texture and use it in our layout. We were also to use burlap, paint, and/or beads.
I knew right away I wanted to try making paper! So, a few months ago I bought a paper making kit. This homemade paper is my first texture.
I made the pink first and also made some that came out gray, which I also used! Here are some photos of the process: 1) Combine scraps of paper and 2-2 1/2 cups water in your blender until you get "mulch". If your paper has color, your new paper will have some also. 2) Get your tub of water ready and insert your frame at an angle. Pour in your mulch. (The bottom of the frame has a mesh that keeps the pulp in but lets the water drain out when you take it out.) Take the frame with mulch out and put onto a cookie sheet to drain. 3) Undo the straps from the frame and remove CAREFULLY from the bottom...there is your soon to be paper sheet! 4) Put a fine mesh wire screen over the paper and blot with a sponge. You will need to wring out the sponge and blot a few times. 5) Put a piece of blotter paper over the new sheet and again blot with the sponge. You are trying to remove as much excess water as possible.
6) Flip over and remove the bottom mesh...replace with another blotter sheet. Rub with a block of wood or something hard to soak up more water. If needed, flip and use another blotter sheet on the 1st side again. 7) Carefully pull up your new sheet and put on a cloth (I use a cotton towel). Cover the sheet with the other part of the towel and 8) Iron on the highest setting WITHOUT steam. 9) Let dry a little more and you have your new paper! I put some pieces of foil wrapping paper in my pink paper and got those flecks that are in it!
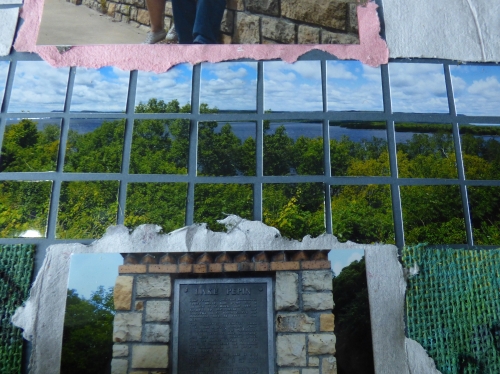
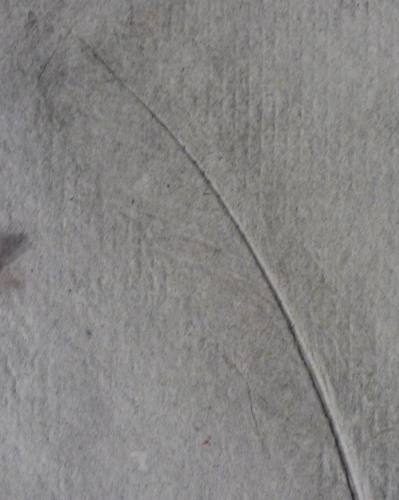
After the first pink paper, I had to decide what photos to use! I had new photos of an overnight my husband and I took down along the Mississippi River between Minnesota and Wisconsin, so I decided to use them. The pink wasn't the best color for these, so I made another sheet with a more gray color. When I did my gray sheet, I put a feather into my paper (to go with the sign photo). It didn't come out very embossed, but here is a photo of where the feather is (it wasn't in deep enough to stay in, but made the impression):
After I did the paper, I decided I wanted a bit more texture and needed to use the embellishments. So, I got a piece of burlap out. I only had yellow, so decided to paint it (hence using the paint AND the burlap together!) to get a blue/green nature color. Here is my burlap painting:
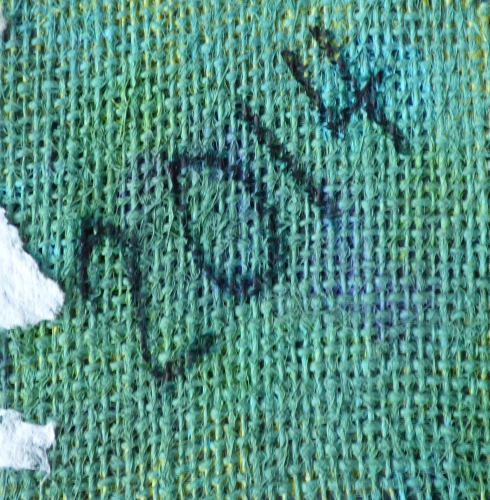
I used a sponge to blot the ink colors... I then cut the sides for the edges of the bottom of the second page and wrote the date on each side with marker!
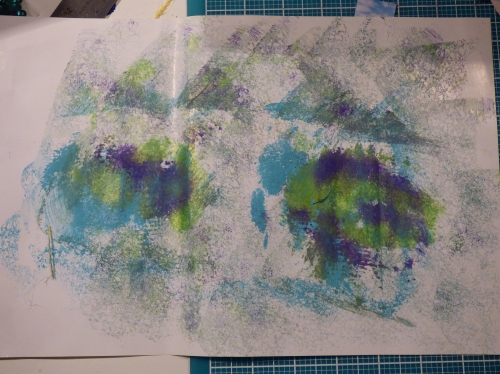
Interestingly, I loved the colors that resulted on the paper beneath and kept that for another later project!
Finally, I found some beads in my stash of stuff called "Seashore Beads". 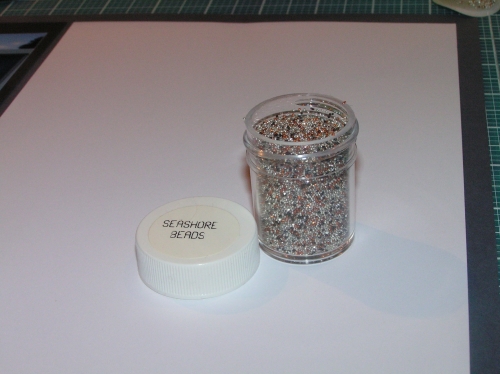
I decided to use them on the bottom of my photos of the sign and then chalked the edges to give it a "lake" feel! I just put some glue around the bottom and lower sides of the mount, poured the beads on, and then shook the extras off onto a sheet of paper and back into the jar!
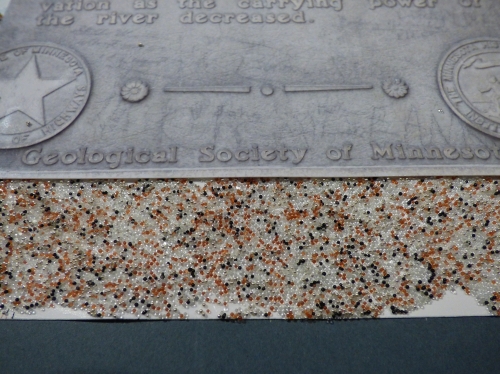
So, I ended up using a variety of textures and all three of the elements this time! Here is the final project and each page seperately:
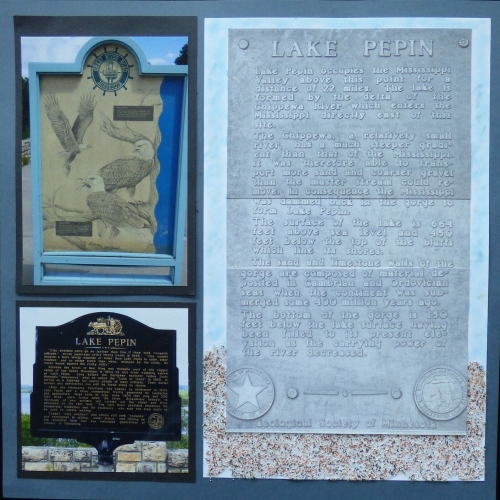
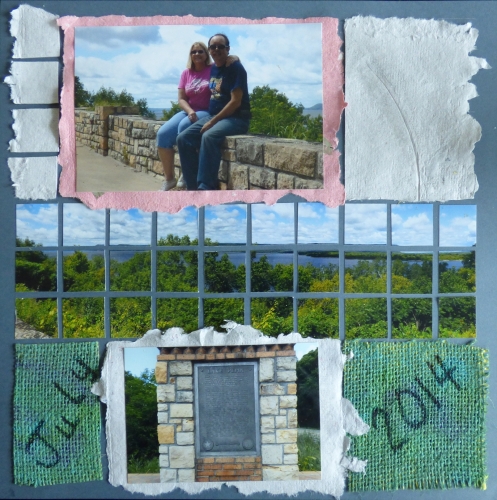
I used the Storm grid paper for my background. And pieced a couple of photos of Lake Pepin to go across the middle.
Well everyone, I hope you have enjoyed the Design Team layouts this year. This last one is bittersweet. But, I will plan to share more in the future, and hope you all keep on "mosaic-ing" as my friends would say!
Hugs!!!!! :)
Lori


