
WATER PARK ADVENTURE
The inspiration for this month's first project was "Treasure Island". I have to admit, this one was hard for me. I really wanted to do a layout comparing the Treasure Island casino in Las Vegas, with the ships and pirates, to the Treasure Island casino here in Minnesota, where I play bingo! However, I couldn't find my Las Vegas photos! So, back to square one.
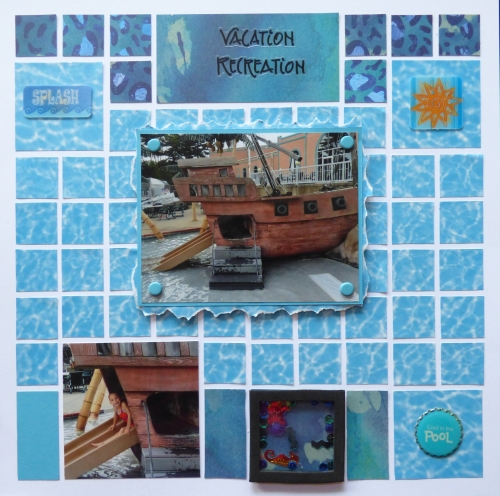
I finally decided on a family vacation trip to a water park in Wisconsin Dells. My mom and I took my nephew and his two girls for a few days, and we had a great time. The water and the fun of the adventure was fitting for this theme.
I started with the "Bikini Time" page kit. Though this one may no longer be available, there are many other GREAT kits. I have adapted many for my layouts, and here's an example of how to do it!
I used the white grid paper, the color tiles, and the patterned paper. Then I incorporated some other patterned paper (the water paper), some word stickers, and some other embellishments, like bottle cap stickers from Creative Imaginations. 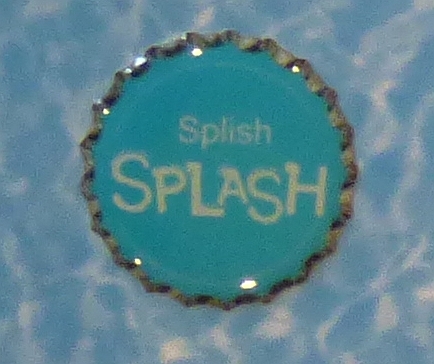 I used brads for the center photo,along with the paper tiles and some torn paper, and mounted it on pop dots.
 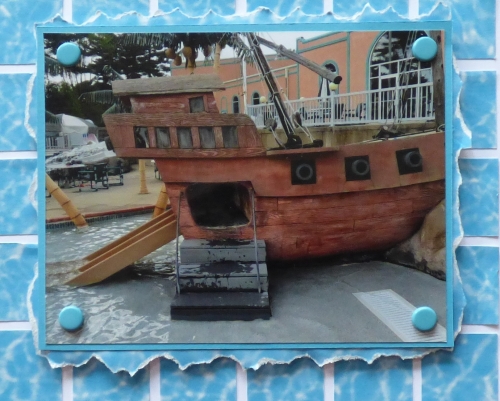 One tip...I put the pop dots right over the brad teeth on the back so that they don't dig into the paper.
I also decided to add a shaker box. If you've never made one, they are really not very difficult. 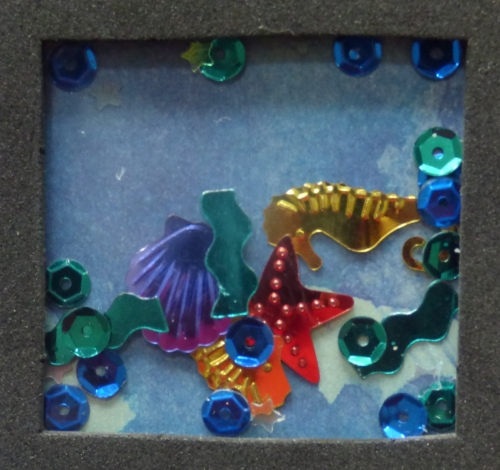 First, decide what size and shape you want, decide what paper or other material you want for top and the bottom, and what confetti or other filler you want to use. [I used some beach confetti along with sequins I once received from a dear friend. ;) ] Cut the top and the bottom to the same size and shape, and cut out the middle of the piece that will be your top. Leave enough width to be able to attach it to the bottom part. You may be able to find pre-cut shapes, which I did. The ones I had were pre-cut out of black foam. Use double sided foam tape around the outside edges (no wider than your top piece edges!), and put your "filling" in the center. Then lay a piece of acetate (or even clear plastic wrap!) on the top of the double sided foam tape and trim. Put adhesive on the back of the top part and adhere to the acetate. Make sure that the foam tape is completely around all sides, with no gaps. Otherwise your confetti will come out! (I tried to photograph this process, but the plastic doesn't photograph well....sorry!)
Here is the completed layout:
and the individual pages:
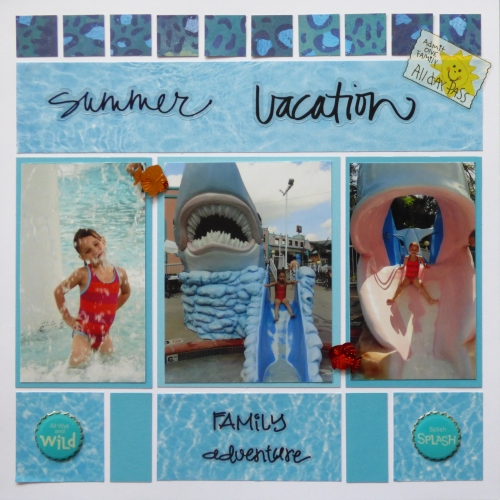
I am planning another layout featuring the other great-niece, as well!
Hope YOU are enjoying YOUR summer adventure! :)


