
LETTER TO JAZMINE
For our May Literature Project, we were to take inspiration from the book (or movie) "Letters to Juliet". When looking at the Pinterest board, I was very taken by the script/lettering, the colors, and the idea of hope/future/destiny/2nd chances, etc.
As I have been working on my niece's graduation book (she graduates in May!), I decided to use this inspiration for the opening page of the book. (There are no photos here...see, you don't always need them to make a nice page!) My niece's name is Jazmine (Jazi for short), hence the title "Letter to Jazmine". The letter expresses love and hope for a happy future, and references past happy times and good memories found in the following pages of the book.
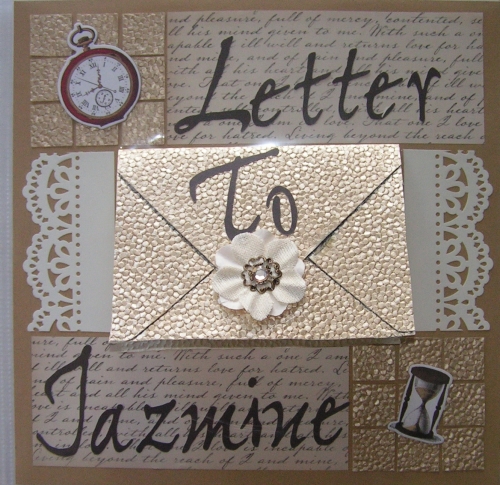
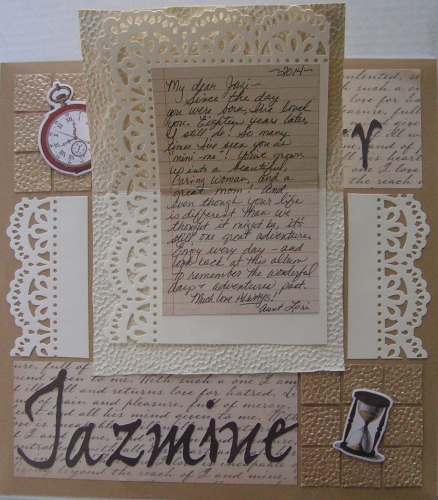
Using my envelope maker from We R Memory Keepers, I cut an envelope out of gold paper that looked like a purse texture. But, then I sealed the flaps shut (being careful not to seal any of the inside!) and then cut around the sides and bottom so that it would open from the bottom up. I attached a flower to the flap. Inside, I layered some ornate lacy paper with some lined paper and wrote the letter. Here is a photo of the inside.
I used some of the gold paper to make 1 inch squares for my corner blocks, and used clock and hourglass die-cuts to represent time. 
As the background for the letters, I used some script paper and cut the letters out of a brown lightly patterned paper using the Cricut Stone Script cartridge.
Finally, I added a couple of left-over edges of the lacy paper to the side of the "envelope" to finish out the page.
Now you may be wondering how one would be able to read the letter inside the page protector...well, let me show you!
First, I finished my layout. Then, I put the page into the page protector. With ruler and light pen, I drew a line from one side of the envelope to the other (where I wanted it to open) on the outside of the page protector. 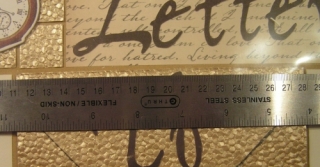
Next, remove the page from the protector (you can see the line with the white protector paper behind) 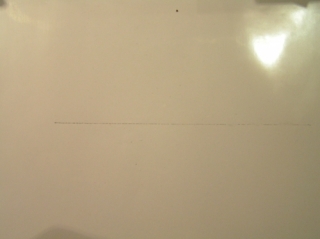 and put a piece of cardboard in between the front and the back.
 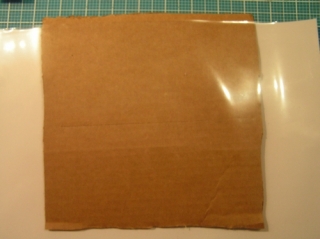 This needs to be thick enough that you won't cut through it! Then, CAREFULLY cut the line you've drawn.
 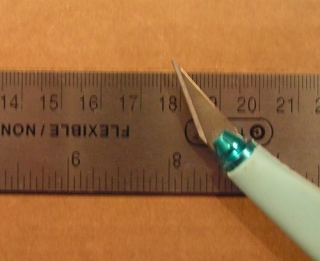 Now reinsert the layout into the page protector, carefully pulling the top flap through the slit. It can now be lifted and read!
The grid paper color I used is Ginger. I think this is one of those colors that doesn't really grab you until you try it. It's actually very elegant looking, I think!!
The other supplies were mostly from Recollections: the gold embossed paper and the Script Cream paper are from the Signature collection (individual pieces), the brown lightly patterned paper and the lined paper are from the Union Square paper pad, and the flower is also from the Signature collection. The lacy paper is from Anna Griffin. 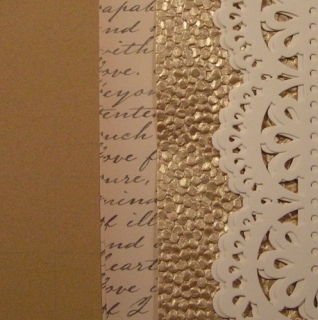
(Sorry for the glare on some of the photos, but I wanted to leave it in the page protector for demonstration and to avoid wear and tear on the page!)
Anyway: Never give up hope, believe in love, and have a great life! HUGS!


