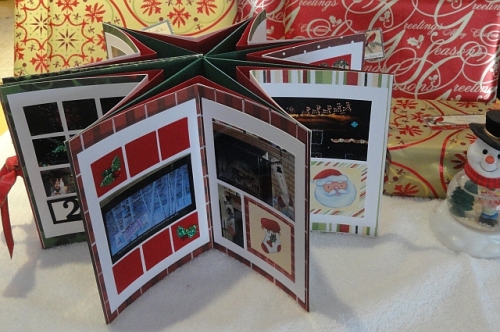
MMDT #23: Christmas Album
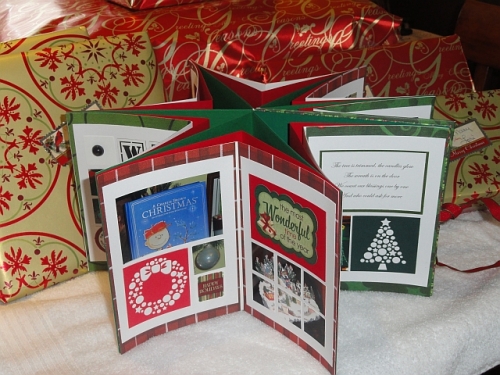 For this project, we were to make a mini album or an explosion box using the RTC grid paper. Years ago I made a star album in a class that I took and thought that this would be the perfect opportunity to make another one! I do have to apologize as I used the 3x4 RTC paper and I don't think that that is available any longer. BUT, not to worry, the 4x4 paper will work just as well!
Here is a link to directions on how to make a star book, but I'll explain here what I did as well!
http://www.scrapbook-crazy.com/star-album-instructions.html
I decided to make my book 6X6...with seven section. (I started with 6, but then decided that 7 made it look a little "fuller".) I cut my 12x12 green cardstock in 1/2 (it will be folded in half to be 6x6), then cut 7 pieces of red 8 1/2 x 11 to 6 x 11. (These will also be folded in half....you need the 6" width to be consistent.) Next, I cut 7 pieces of white to 6 x 10. Again, these get folded in half.
After I cut all of my sections, I attached my red to my green. This is done by putting a strip of adhesive along the edge of the green paper on ONE end and attaching the red. Make sure your edges are even! It will look like this:
Do the same on the other side. Later you will do the same to attach the white (or your third layer) to the red, but I wait until I have all of the embellishments and such added before doing the last layer!
Now for the fun part!
I cut my RTC Grid paper into individual sections. Then, I covered each side of the white layer with patterned pattern cut 6 x 5 and added one section of the RTC Grid paper.
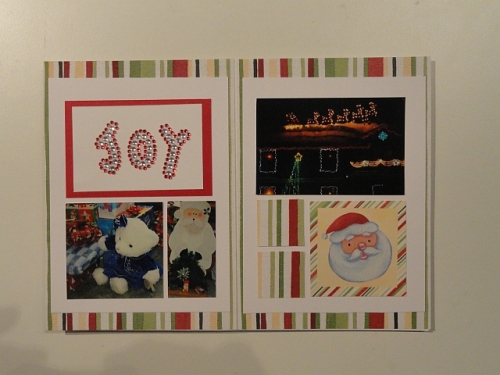
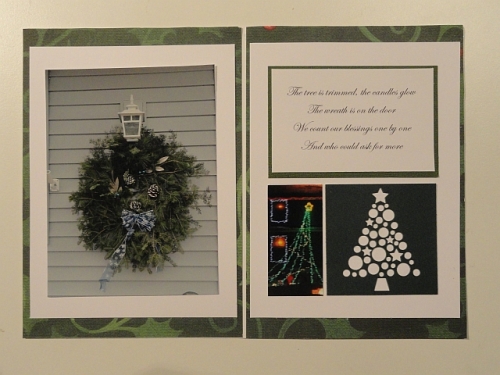
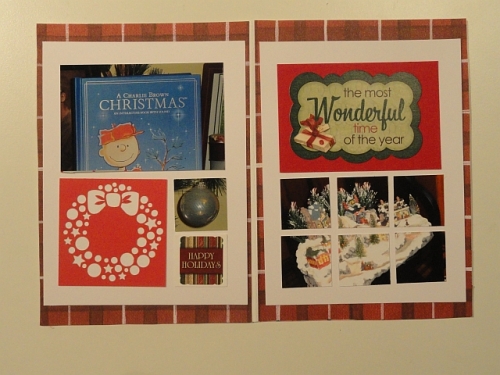
After that, I added the embellishments. 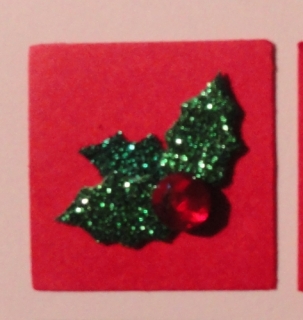 Now here is the part I misunderstood! I thought we were to add photos, so I took some at the mall, around the neighborhood, and dug out a couple from last year and filled them in! So my book is now complete...
Here a some photos of the pages "pre-photos" and post phots!
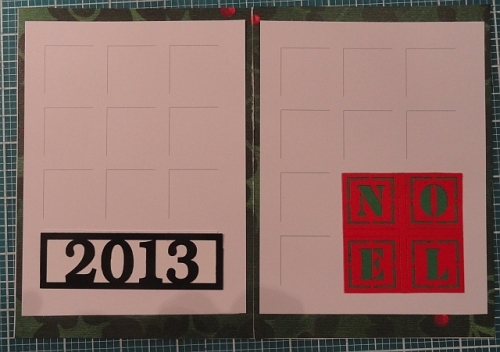
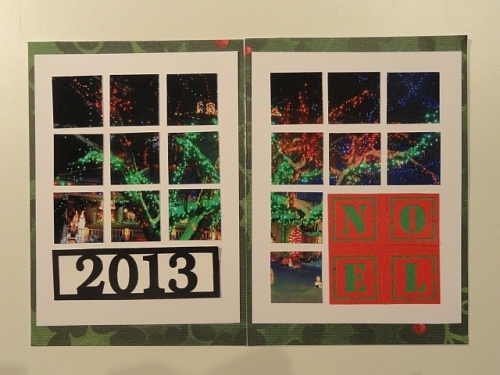
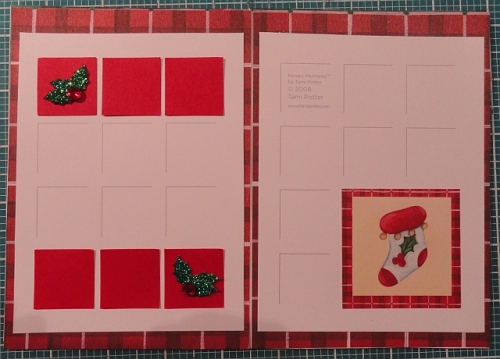
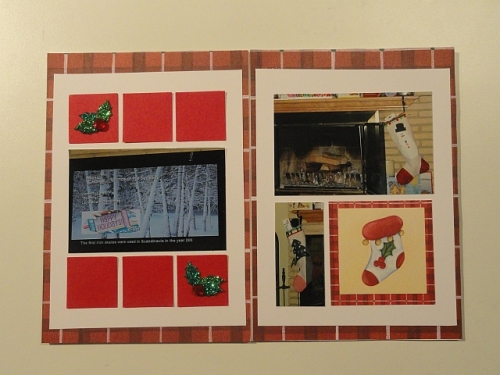
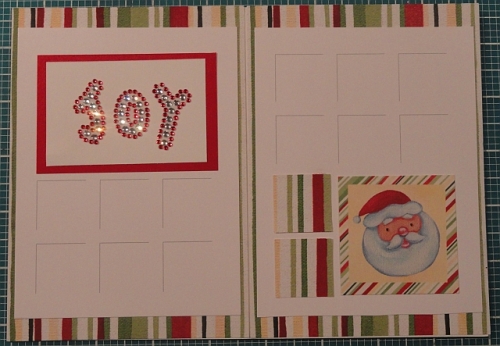
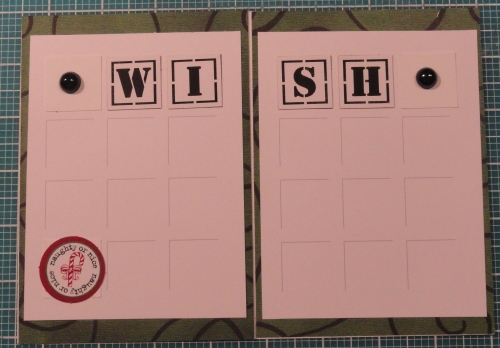
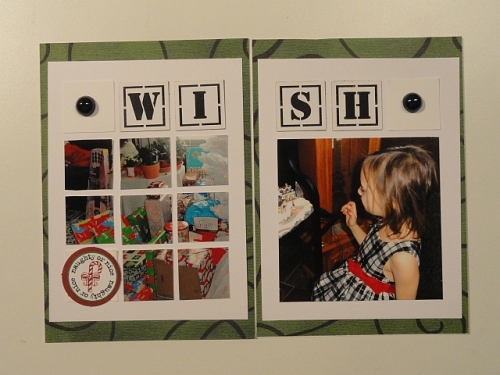
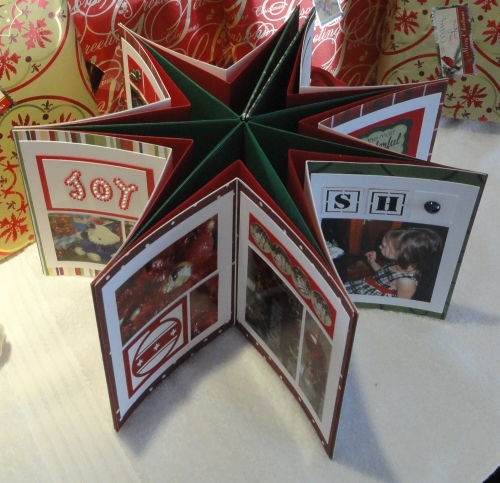
For the "WISH" at the top of this page, I used the 4-square cornerstone from snapncrop.com, broken apart. (The NOEL above is also a 4-square cornerstone left intact!) I mounted the black dots on 1" squares of white. Word of caution: anything raised like these dots will affect how your book closes, so use sparingly! 
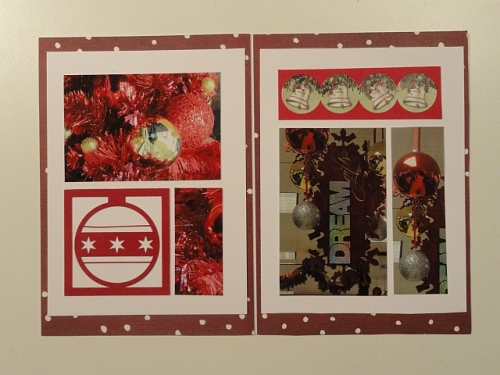
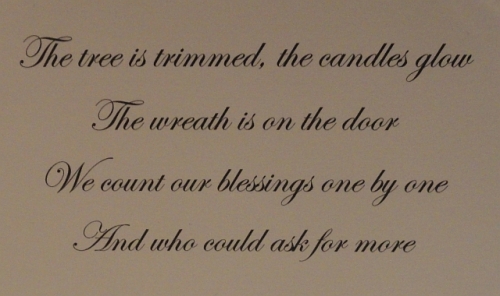
The saying on this page is one of the phrase tags, with the end trimmed off. This page, along with several of the others also features a cornerstone. There are many great ones that work wonderfully with the RTC grid paper!
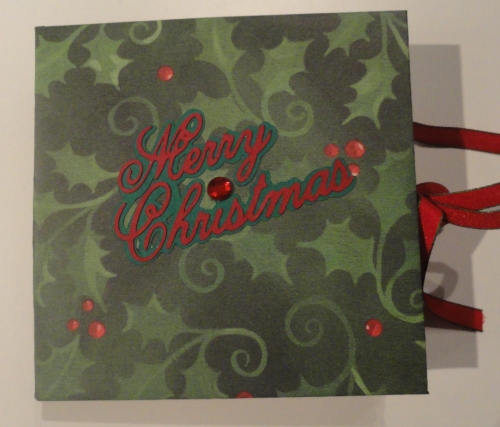
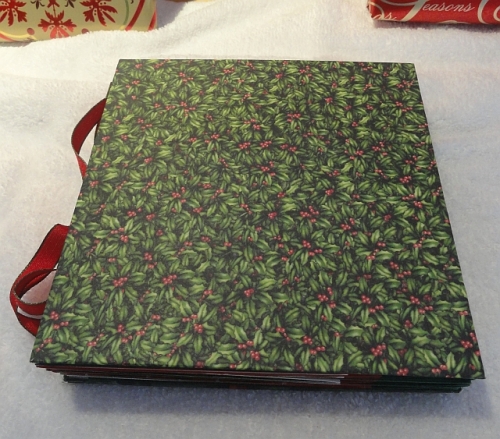
You will also need a front and back cover. I used two 6 x 6 pieces of chipboard and covered each side with a piece of patterned paper. Before attaching them, you also need to add a piece of ribbon to each side. I attached this with double stick tape...use plenty of length to be able to tie it, as this will be used to tie your album when it's done! Here are some photos of the covers...
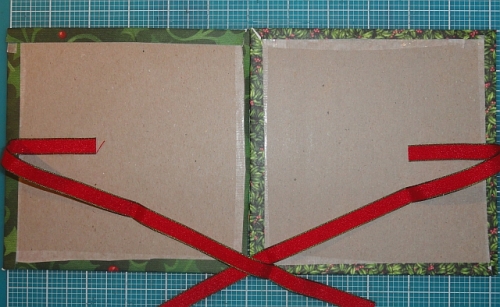
(Front Cover)
(Back Cover)
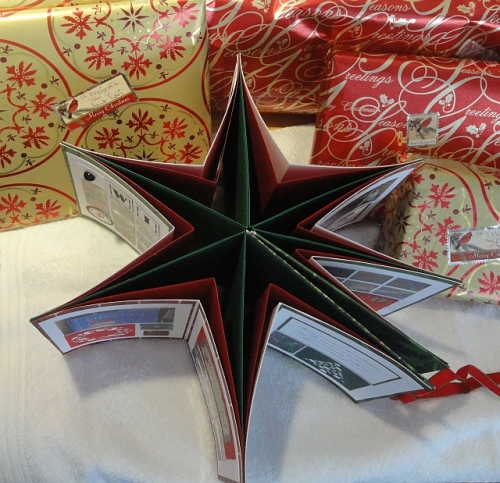
Lastly, attach the completed middle pieces to the red in the same way that you attached the red to the green. Attach your covers to the front and back remaining uncovered green sections. Then, you can tie your book shut or open it up into the star shape and tie the covers together. This would make a fun gift for someone to be able to add their own photos to!
Here are a couple of photos of the completed book!
 Happy Holidays, all! HUGS!
