Challenge # 19-2013 MMDT Theme: Basket Weave
Challenge #19 Theme: Basket Weave
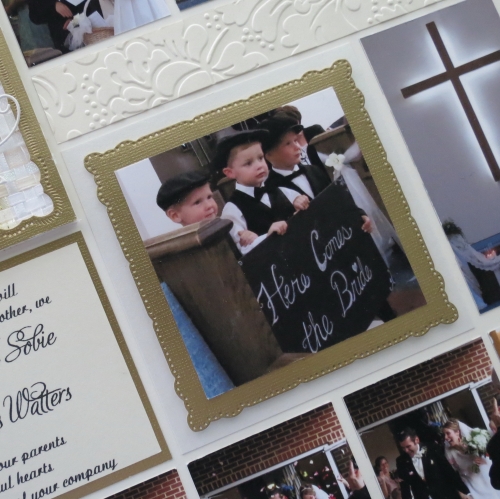
For this challenge I chose to use photos I had recently taken at a friend’s wedding.
The colors from the Wedding are the colors I wanted to use to maintain the mood and feel.
12” x 12” Ivory Mosaic Moments Grid paper
Ivory and Medium Icy Indigo Paper tiles
Pearly White Core’dinations Cardmaker Series Pearls Paper
Gold Metallic Cardstock from DCWV
Spellbinders Marvelous Squares
An assortment of ribbons in varying widths and shades: white and ivory, organza, gold, iridescent and metallic threads.
Memory Box dies: Macarena Corner, La Rue Heart
Butterfly Die from A-muse
Embossing Folder: Anna Griffin-Blossom Dance
Page One
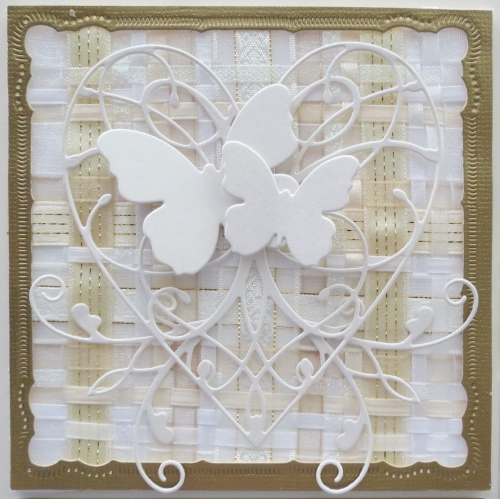
For this page I incorporated the woven ribbon square created for the challenge. I’ve been thinking of using ribbons to weave on a layout for a while and will probably do so with the idea I had in mind in another layout, but for now I wanted an element that would work with the photos and theme.
I know it looks like a mess and you'd be 100% correct.
However, with a little patience it does work out in the end.
I began with a paper tile the size of the area to be covered, then gathered all the ribbons to be used, I ran a row of double-sided tape along the outside edges of the square and began arranging the ribbons in the order I wanted them to be, fitting things edge to edge. The ribbons are different colors and sizes so it was important to keep them mixed in both directions.
After adjusting and tugging and pulling it into place I was finally
seeing what I wanted in my final product.
I then topped it with a die cut heart and a few flourishes that I used micro glue dots to adhere and larger ones hidden behind the butterflies. It is securely attached, but still has a floating feel to it.
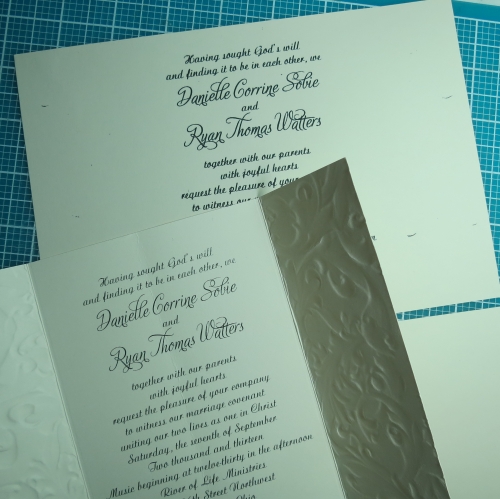
I wanted to incorporate the wedding invitation in the layout too…but there was some dissension from the ones wanting to save it whole! So I copied it onto cardstock of similar color and cut sections to fit on both pages as my journaling. Other sections were embossed with a similar looking embossing folder then cut to fit the areas on both pages.
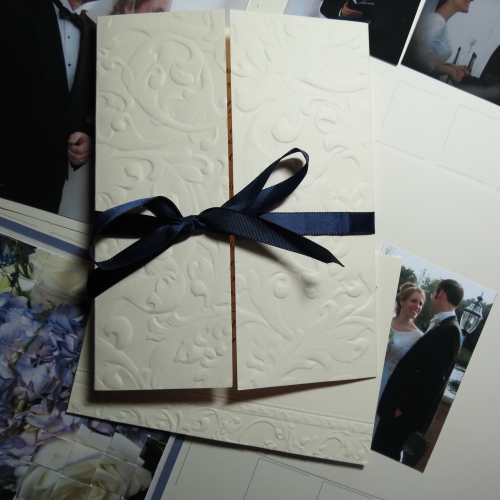
Whenever you have a memento that you’d like to include in a layout try copying it. It also allows you to resize it or just edit the parts you’d like to use. Just be sure to use acid-free paper and you’ll be okay! This is helpful too for items too bulky because they can be “flattened out” in a scanned copy.
Page Two
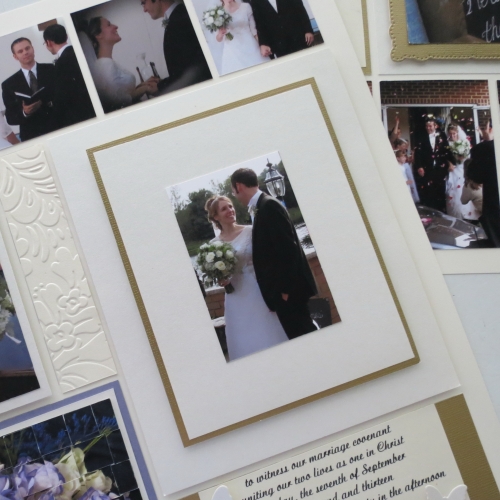
On this page two areas are featured, another woven project and a multiple layered photo. The multiple layered photo is 2.125” x 3.25” and was originally one of several I was going to include in a 2gsq. x 3gsq. section and then decided to feature in an oversized frame. The bottom mat of Pearly White Pearls Paper covers an area of 5 gsq x 6 gsq. and is mounted on foam mounting tape. The next layer is the double matted photo on pearly white and gold and mounted on foam mounting tape.
There were a lot of photos I really liked and wanted to include, but it was becoming way too busy. In the end, reducing the amount of photos to focus on a few special ones helped to create an eye pleasing finish.
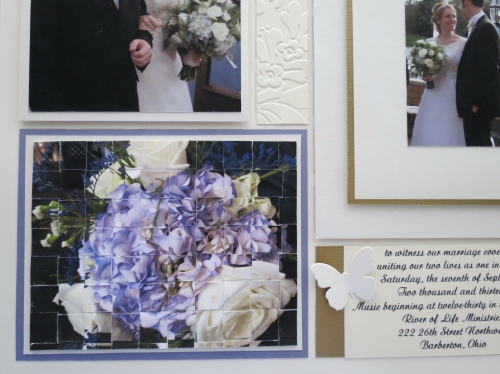
Then I tried another weaving project, this time with a photo.
Begin by printing two identical photos. Cut each in ½” width strips first horizontal and second vertical.
Using a paper tile or cardstock larger than the photo to anchor the weaving to begin in the corner with the over and under as each section is added. I had a small amount of adhesive at the tip of the strips that worked against me in the long run as it was very effective.
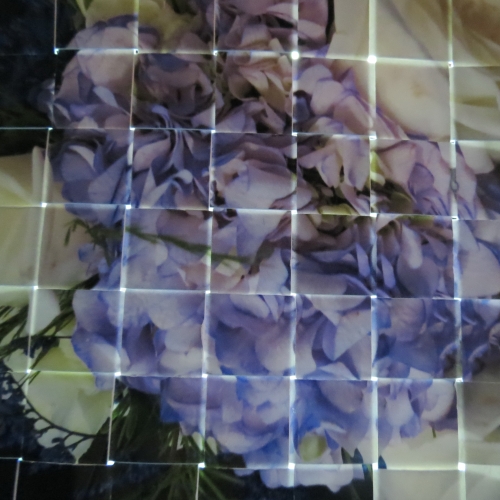
Trying to get the strips in tight in each direction became a chore. I did lift the photo to the light see how tight it was or needed to still get. I was worried about scratching the photo and it didn’t dawn on me till way later that I should have been doing it on the backside to avoid that, but I was more intent in getting the pieces lined up on the front.
Once you get the last strips in, use the adhesive on each of the pieces so they stick to the photo layer below and then to the cardstock you chose for stability. Cut and trim to fit the space you want to use it and mat if you like. Pearly White Pearls paper and Medium Icy Indigo were my choices
A few interesting notes: Dani’s dress was her Mother’s wedding dress that had a few alterations made to it to make it “hers.”
Dani and Ryan had 16 of their 17 nieces and nephews participate in the service…many stealing the show!
Dani saved the petals from the roses Ryan gave her during their courting days and the flower girls used these to pave her way down the aisle.
Ryan’s best man (and his family) came all the way from Northern Ireland for the day.
Dani’s brother, Scott and his wife Oksana were here in the States for the birth of their sixth child this summer from their missionary post in the Ukraine. He was the pastor performing the ceremony.
Dani’s sister Carlee and her husband Nathaniel along with their family of five were here from their home in Nome, Alaska where they too are missionaries!
And finally, her brother Nate and his bride-to-be, now wife as of this weekend, also traveled from Alaska to be here for her special day.
Now, maybe, mom and dad, Lin and Mick, will get some rest! What a busy summer they have had!!
Many dear friends and family came from all over the country to be a part of their special day; Hannah and I were so pleased to be there too!
Thanks for coming along with us on this memorable day. I hope you have found inspiration for making a page of the next wedding you go to, or maybe one you’ve been to recently!
Thanks for stopping by…
Andrea


