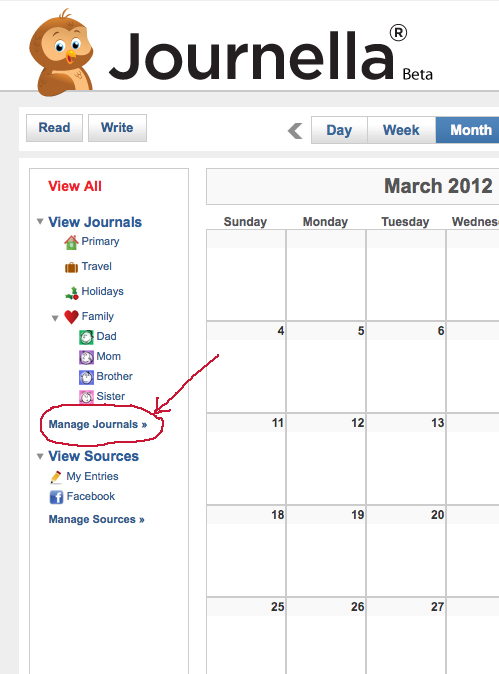
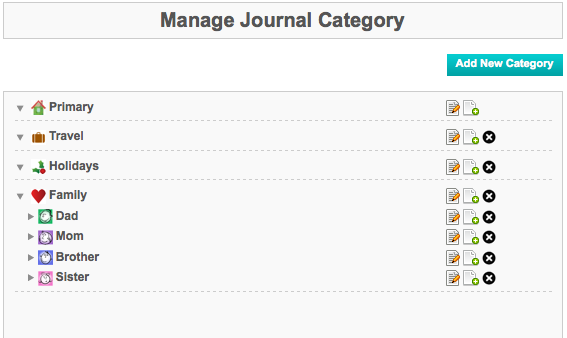
In Journella, you can create as many different journals as you would like!
You can write all your thoughts and memories in one place; but, keep them all separate & easy to find. Think of it this way… You can have a journal to write memories from your childhood, a journal to write about things you are grateful for, a journal to keep notes about your job, journals to remember the funny things your kids say… (the list never has to end!) Better yet, if one of your entries mentions two subjects (say your job and your family) you can save that entry under both subjects.
WHERE DO I ASSIGN A JOURNAL ENTRY TO A CATEGORY?
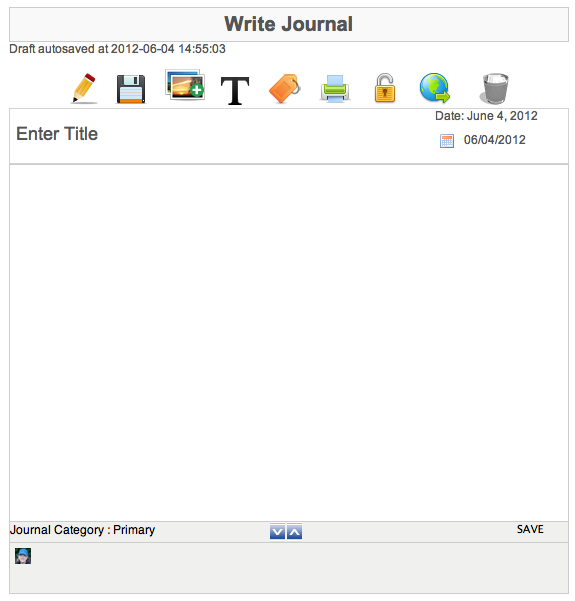
When you have completed a journal entry, click on the orange tag icon at the top of the screen. (See image below)
When you click on the tag icon, it will open a pop down window that looks like the image below. Notice the little orange icon next to “Journal Category Names”.
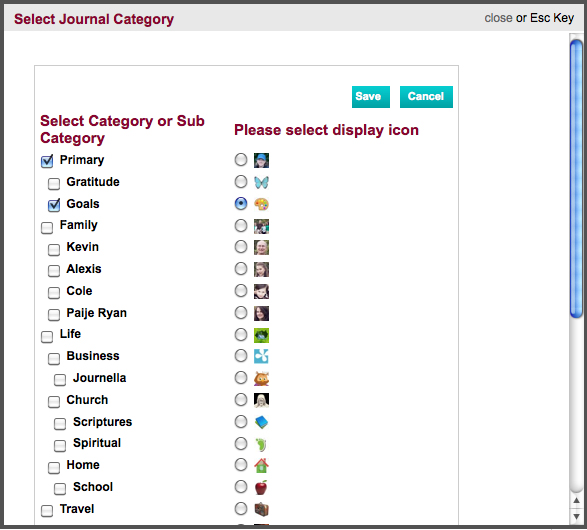
When you click on the orange category icon it will open a pop up window with a list of your Categories. (see example below)
As a default, all journals are set to save in your “Primary” journal. (So, if you never click on the tag icon – all entries will automatically be loaded into your “Primary” category.) You can select different (or more) journal categories by checking the boxes next to your category name(s). (See example below)
Next to the category icon images you will notice that there is a “radio” style (round) button. Only one of these can be selected for each journal entry. The icon selected via the radio button will be the “display icon” for the journal entry.
WHAT IS A DISPLAY ICON?
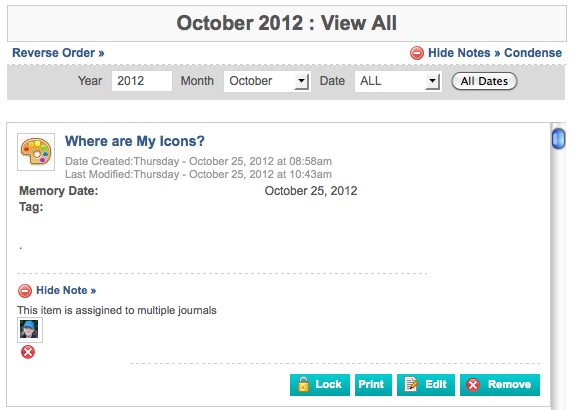
A “Display Icon” is the icon that is assigned to represent that journal entry on your calendar view. (Notice the artists palette icon in the image below.) This journal entry may be assigned to several different journals but the category of ”Goals,” represented by the artists palette, has been selected as the “display category.”
WHERE ELSE CAN I VIEW THE JOURNAL CATEGORY ICONS?
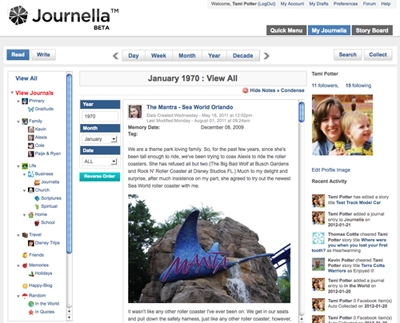
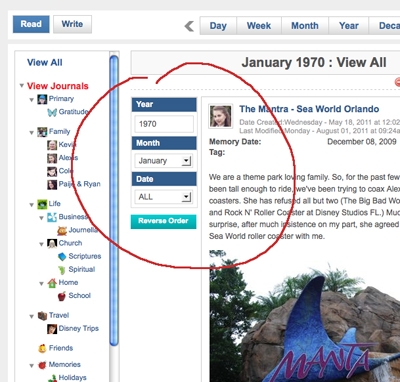
When you are in READ view you will notice the “Display Icon” featured in the top left corner of each entry and any additional categories assigned at the bottom of the entry. (see image below.)
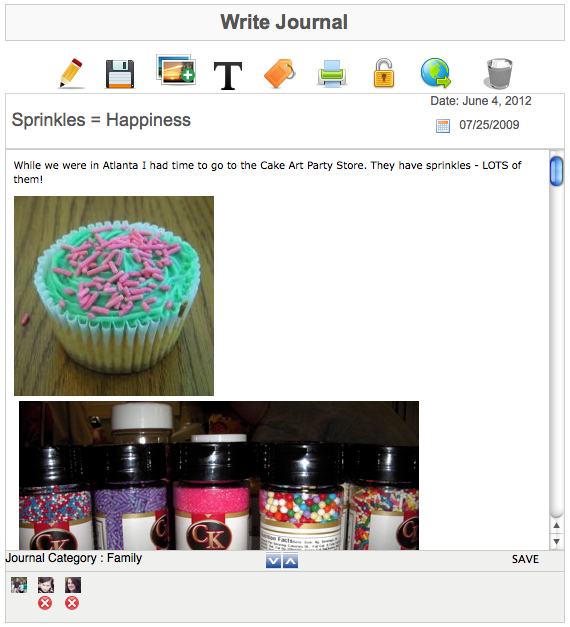
At the bottom of the WRITE/EDIT screen you will notice icons that represent each of the categories to which a journal entry has been assigned. (See image below.)
You can easily remove all journal category assignments EXCEPT the display category. Notice the red x button under the left icon below. With the click of that button, I can quickly remove the journal entry from that category. NOTE that the palette doesn’t have a red button – it was chosen as the display category and cannot be removed until a new/different display category has been assigned.


